Past Quilts
2016 Quilt
 2009
2009
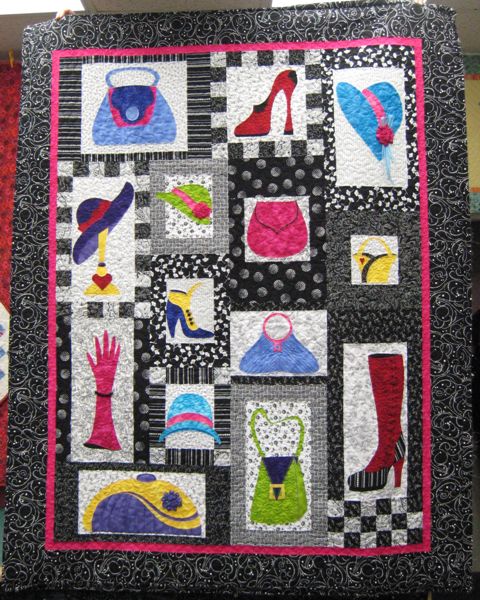
Here is the quilt from Cristina’s:
**************************************************************
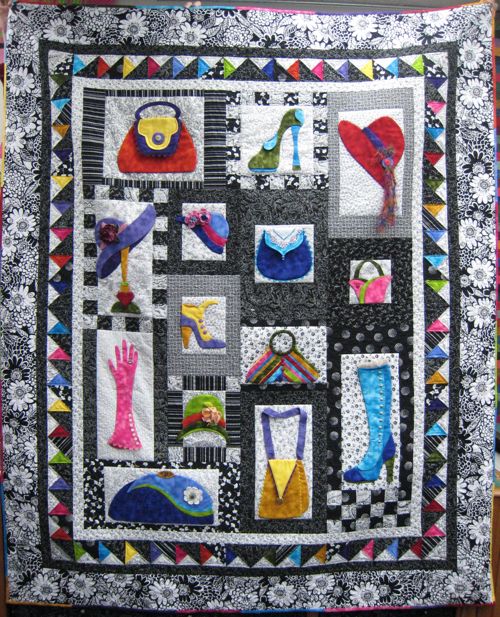
Here is the quilt from Guildcrafters:
**************************************************************
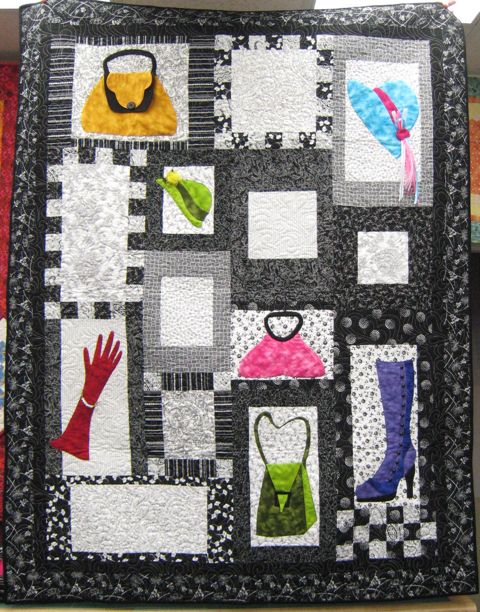
Linda’s Country Quilts is nearly finished:
**************************************************************
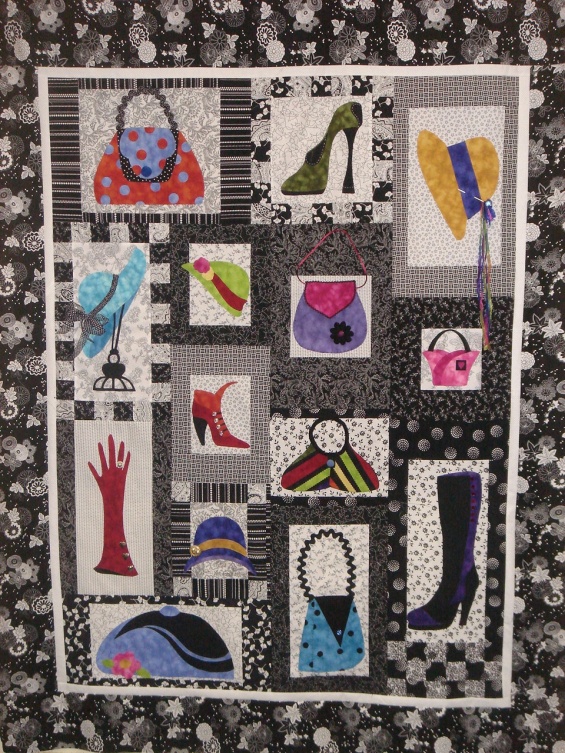
Here is the lovely quilt from Mabelena’s:
**************************************************************
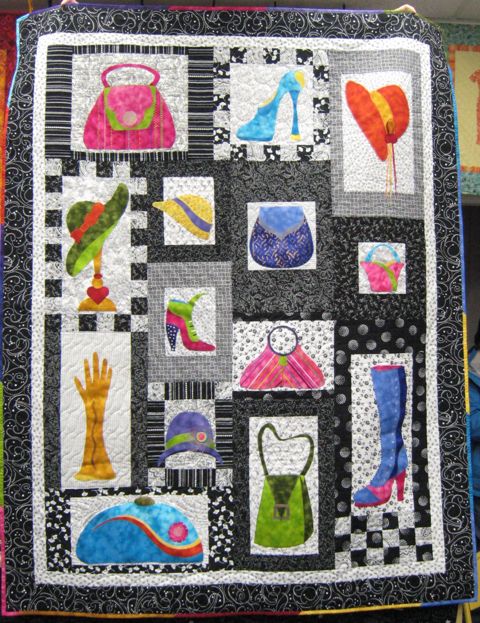
Here is Monarch Quilts’ version:
**************************************************************
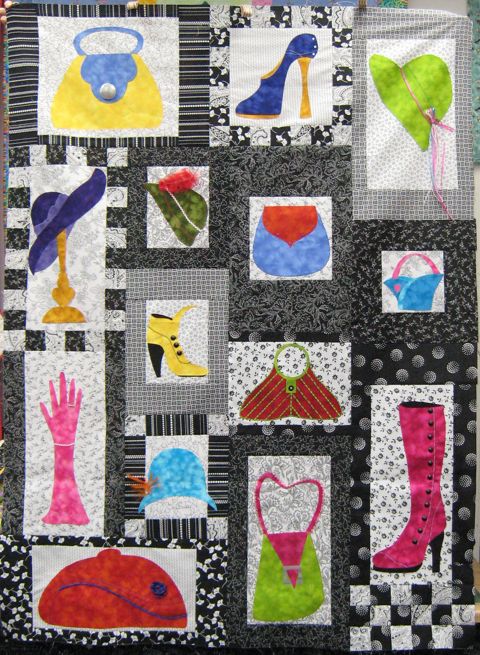
Here is what The Stitchery is working on:
**************************************************************
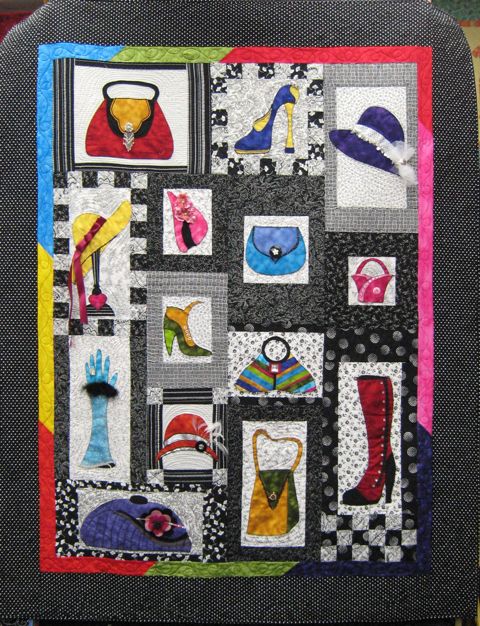
Last, but certainly not least, here is the quilt from Wendy’s:
Here is a first look at the 2010 Cabin Fever Shop Hop Pause for Paws quilt!
This is the Guildcrafters Quilt Shop version.
_______________________________________________________
This is Linda’s Country Quilts’ version of the quilt.
_______________________________________________________
This is Mabelena’s version of the quilt.
_______________________________________________________
This is Monarch Quilts’ version.

_______________________________________________________
This is the Stitchery’s quilt.
_______________________________________________________
This version of the quilt is by Wendy’s Simple Stitches.
The center layout of the quilt will be the same for each shop — strip-pieced diamonds cut with the Boondoggle ruler (free at your first shop hop stop), alternating with stitchery shapes of dogs and paws in alternate blocks. The Boondoggle ruler makes cutting and piecing diamonds a breeze as it is a gentler angle than the usual 45 degree or 60 degree diamond.
Each shop will show the quilt with a different border design. As you can see, Wendy pieced paws in her border.
This is just a sample of the quilt at this point. The colors of the pieced strips needed to be changed at the last minute. The colors will be similar to what is shown here but will be a little deeper in value.
Here’s a little closer look at the stitchery designs.
Stay tuned for all the 2010 Cabin Fever Shop Hop Pause for Paws news!
2011 Quilt
Scroll down to find the center star tutorial.
Here is the quilt by Guildcrafters Quilt Shop which shows optional applique star and circle vine:
*********************************************************************************
Here is the quilt done by Mabelena’s:
*********************************************************************************
Here is the quilt done by Monarch Quilts:
*********************************************************************************
Here is the quilt done by Wendy’s Simple Stitches:
CENTER STAR TUTORIAL
We’ve created a photo tutorial to go along with the directions and templates for the center star for the 2011 Cabin Fever Shop Hop quilt. The printed pattern directions and diagrams are intended to work in conjunction with the photo tutorial — be sure to refer to additional diagrams and directions in the printed version.
1. Eight Blue Star Points:
Lay the 11” x 7” Blue Multi Print face to face with the 11” x 7” Navy With Green Sprig. Lay navy on bottom face up, multi face down.
Follow the diagram to cut template “A” as shown. Make sure you cut the angle exactly the same direction. Spin around keeping it flat but Never flip the template over. Cut 8 sets, keep them sandwiched together to chain sew.
Chain sew:
This completes eight AA blue star point units. Set aside for step 5.
1a. Cut 2 pieces 6” x 7” of Lightest Blue Background With Outline Flower. Lay face to face.
With the same Template “A” from step 1, cut exactly as shown. Spin around keeping it flat but Never flip the template over. Cut 4 sets.
DO NOT sew together. Set aside these 4 right side & 4 left side triangle wedges to complete the units in the next step.
2. Four Green Star Points:
Lay the 9” x 10” Navy w/Green Squares face to face with the 9” x 10” Green w/Navy Flower Outline. Lay dark dot on bottom w/green flower face down.
Follow the diagram to cut template “B” as shown. Make sure you cut the angle exactly the same direction. Never flip the template over. Cut 4 sets, keep sandwiched together to chain sew.
Chain sew:
This completes four BB green star point units.
Using eight previously cut (from 1a) “A” lightest background pieces, separate them, sew a right to one side and a left to the other side of the four green BB star points as shown.
Line the points up at the bottom for positioning to sew. This completes four A/BB/A green star point units. These units are the corners of the center block.
3. Small Green Triangles At Center:
Lay the 10” x 3” Navy w/Green Squares face to face with the 10” x 3” Green W/Navy Flower Outline. Lay Navy/Green on bottom with green flower face down.
Cut 8 sets, using Template “C”. Keep sandwiched together – DO NOT flip over, chain sew exactly as shown on right side of triangle.
Chain sew:
4. Star Block Center:
Lay Template “D” on the 8” x 8” Light Blue Curly Swirl and cut one octagon shape for the center of the block.
Sew only 4 sewn CC green units to 4 corners of the center octagon as shown. This finishes the D/CC unit. Save 4 CC green units for the next step.
5. Sewing Half The Blue Star Points:
Lay four sewn blue star point AA units (step 1) with green triangle CC units (step 4) on top as shown.
Sew across the top of only 4 units and open. Press to the green triangles side.
The other 4 AA units are sewn to E (in step 7). This completes four of the 8 AA/CC units. Use in step 8.
6. Side Backgrounds Between Blue Star Points:
Lay the single 11½” x 6¼” Lightest Blue Background With Flower Outline piece down.
Cut 4 triangles as shown using Template E.
7. Sewing The Other Half Of The Blue Star Points:
Lay the 4 remaining blue star point AA units (Step 1) down with E background triangles face to face.
Sew as shown.
This completes units AA/E. Rotate clockwise & use in next step.
8. Connecting the Star Halves
Take the four AA/CC units and the four AA/E units and sew them together. Line up the center seams. If pressed as previously suggested, they will be opposite each other and ready to “butt” the seams tightly. This creates 4 side AA/E-AA/CC units for the star block.
BLOCK ASSEMBLY:
Assemble in rows as shown with indicated units.
First Row – A/BB/A + AA/E-AA/CC + A/BB/A
Second Row – AA/E-AA/CC + D/CC + AA/E-AA/CC
Third Row – A/BB/A + AA/E-AA/CC + A/BB/A
Block should measure 15” – If it isn’t, it doesn’t matter. Continue following instructions with the next navy border. The following step for the floating triangle will be bigger than the needed size, when trimmed according to instructions, you’ll be right back on track for the rest of the quilt. Square up the block to continue.
Tell us about the 2012 Shop Hop project!
We’re doing this year’s project a little differently- instead of all making the same quilt, each shop has been assigned a different quilting technique. Using a common set of fabrics, everyone designed their own quilt to best showcase their featured technique.
During the shop hop, each store will have kits for sale containing fabrics they used in their project, as well as an instructional sheet for their particular technique. These kits are just $5 and contain four different fabrics (1/8 yd each). Take a peek below at the quilts our different stores have put together for you:
Guildcrafters
Technique: Applique

The Stichery
Technique: Curved piecing
Linda’s Country Quilts
Technique: No-waste, flying geese
Monarch
Technique: Easy half-square triangles
Mabelena’s
Technique: English paper piecing


Leave a response and help improve reader response. All your responses matter, so say whatever you want. But please refrain from spamming and shameless plugs, as well as excessive use of vulgar language.